How To Photograph A City At Night
A practical step-by-step guide to how to photograph a city at night, including preparation, instructions, common issues, tips, and next steps.
How To Photograph A City At Night
This guide explains how to approach how to photograph a city at night, including the preparation, practical steps, common mistakes, and final checks that help you finish with confidence.
Before You Start
Before you head out to photograph a city at night, gathering the right equipment and doing a little preparation can make all the difference in your results. Night photography presents unique challenges, mainly due to the lack of light, so having the correct tools on hand is crucial for success.
What You Need
Safety, Timing, or Context Checks
Beyond gear, a few checks before you leave can ensure a safer and more productive shoot.
Step-by-Step Instructions
Quick Reference
Common Problems When You Photograph a City at Night
Photographing a city at night can be incredibly rewarding, but it also comes with its own set of common challenges. Knowing what these issues are and how to fix them can save you a lot of frustration and help you achieve better results.
Blurry Photos
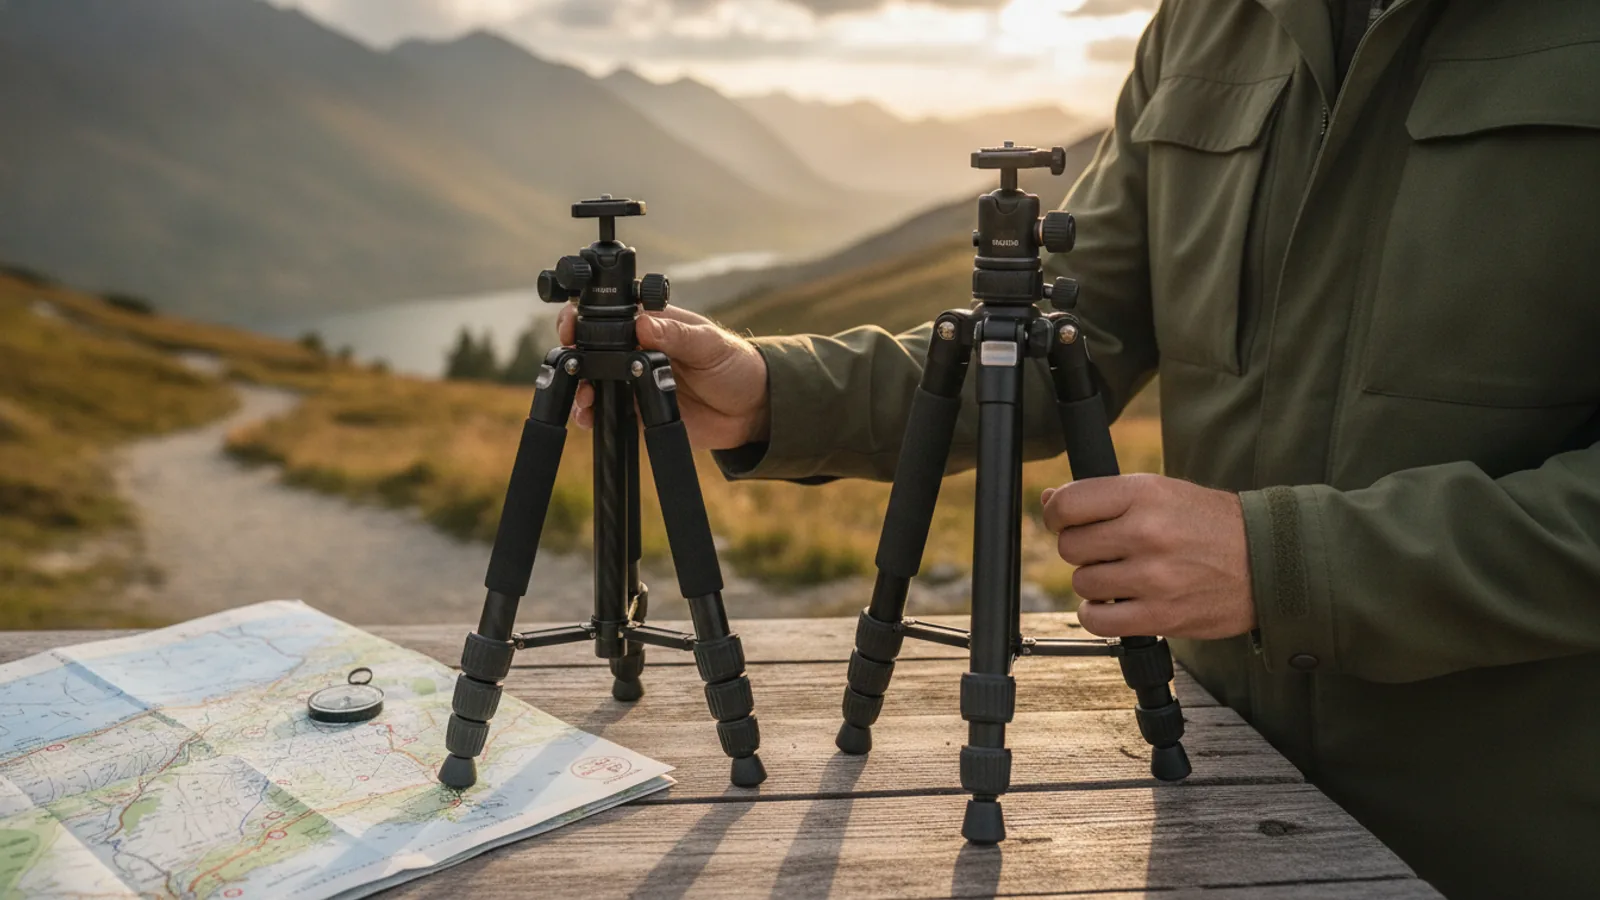
This is by far the most common problem in night photography. Blurry photos usually happen because the camera moved during the long exposure time. Even a tiny vibration can cause blur. To fix this, always use a sturdy tripod. Make sure it's stable and firmly planted. Also, use a remote shutter release or your camera's 2-second self-timer to avoid touching the camera when you take the shot. For DSLR cameras, enabling mirror lock-up can also reduce internal vibrations.
Noisy or Grainy Images
If your night photos look grainy or have speckles of unwanted color, this is "noise." Noise occurs when your camera's ISO setting is too high. The camera tries to make the sensor more sensitive to light, but this also amplifies digital interference. To fix this, always aim for the lowest possible ISO setting (usually ISO 100 or ISO 200). Instead of raising ISO, compensate for the lack of light by using a longer shutter speed, which is why a tripod is so important.
Dull, Dark, or Underexposed Photos
Sometimes, your night photos just look too dark, even with a tripod. This means your camera didn't gather enough light. The most common fix is to lengthen your shutter speed. Try increasing it from 10 seconds to 15, 20, or even 30 seconds. If the scene is exceptionally dark, you might also need to slightly open your aperture (e.g., from f/11 to f/8) or slightly raise your ISO (e.g., from 100 to 200 or 400), but only as a last resort to keep noise down.
Overexposed or Blown-Out Highlights
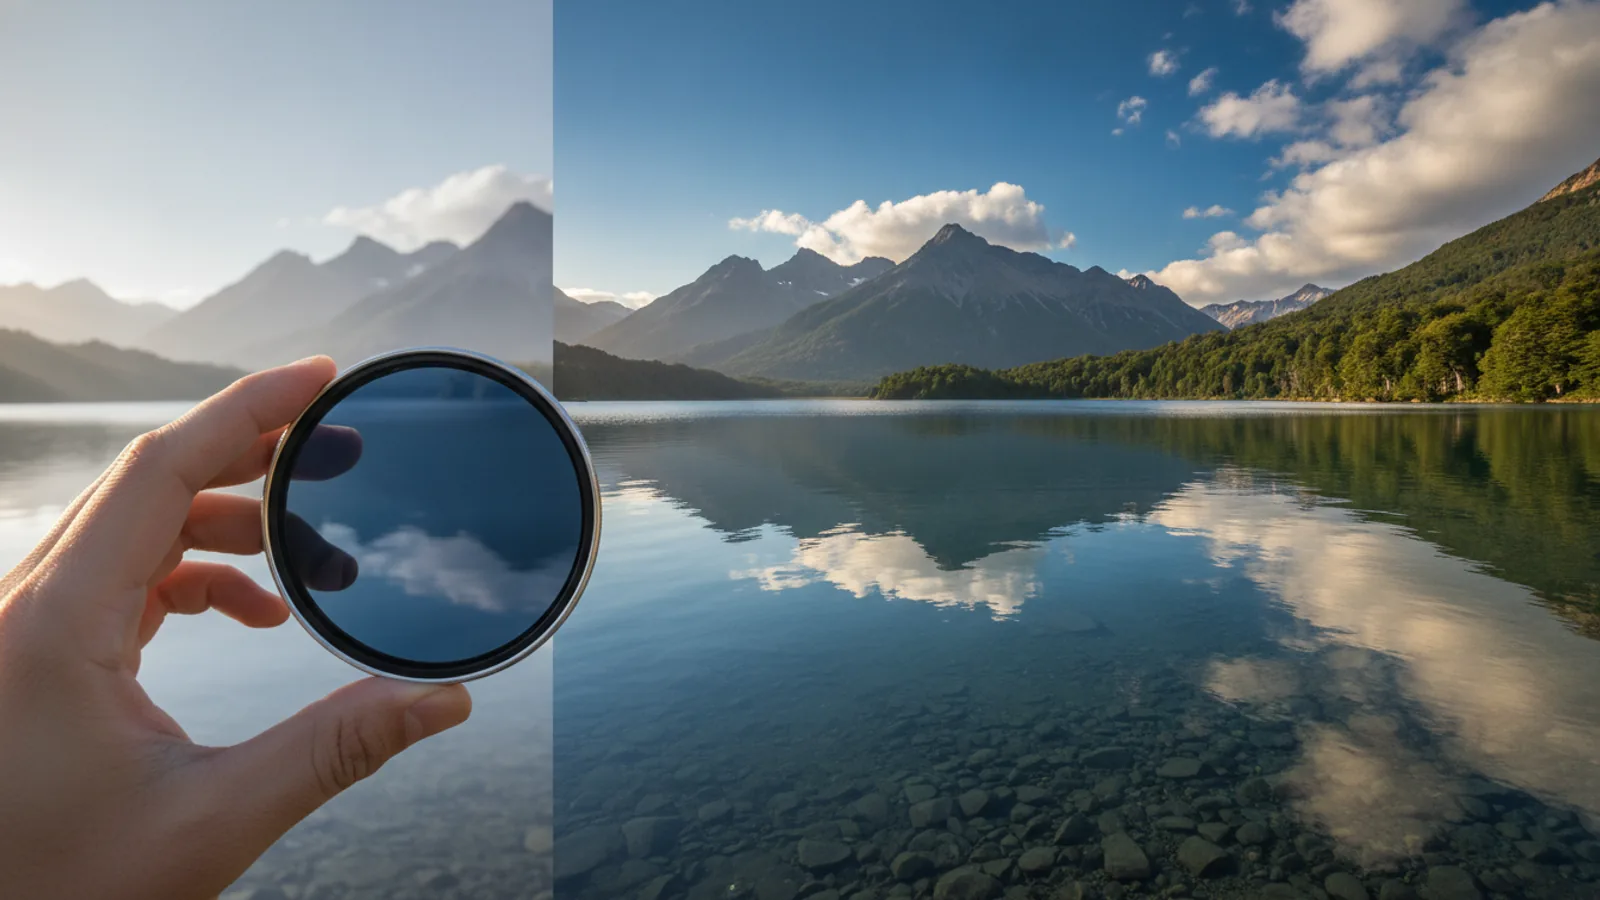
On the flip side, some parts of your image, like bright streetlights or neon signs, might appear as pure white blobs with no detail. This means those areas are "blown out" or overexposed. To fix this, you need to decrease your shutter speed. If you're already at a relatively fast shutter speed for a night shot (e.g., 5 seconds) and still have blown-out highlights, consider using a Neutral Density (ND) filter. An ND filter acts like sunglasses for your lens, reducing the amount of light reaching the sensor without affecting colors.
Poor or Out-of-Focus Photos
Autofocus struggles in the dark. If your images aren't sharp, your camera likely couldn't find a precise focus point. The solution is to switch to manual focus. Use your camera's live view mode and zoom in digitally on a bright, distant object (like a building light) to carefully adjust the focus ring until it's perfectly sharp. Once focused, be careful not to bump your lens.
Unnatural or Incorrect Colors
City lights come in various colors: yellow streetlights, white headlights, blue neon signs. Your camera's automatic white balance might not always get it right, leading to photos that look too orange, too blue, or just generally off. Instead of Auto White Balance, try selecting a specific white balance preset like "Tungsten" or "Incandescent" for warmer tones, or "Fluorescent" for cooler tones. You can also set a custom white balance if you know the Kelvin temperature of the light. Shooting in RAW format gives you the most flexibility to correct white balance accurately during post-processing.
Advanced Tips for Photographing a City at Night
Once you've mastered the basics of how to photograph a city at night, you can explore more advanced techniques to truly make your images stand out. These tips can add depth, drama, and unique perspectives to your urban nightscapes.
Shoot During Blue Hour
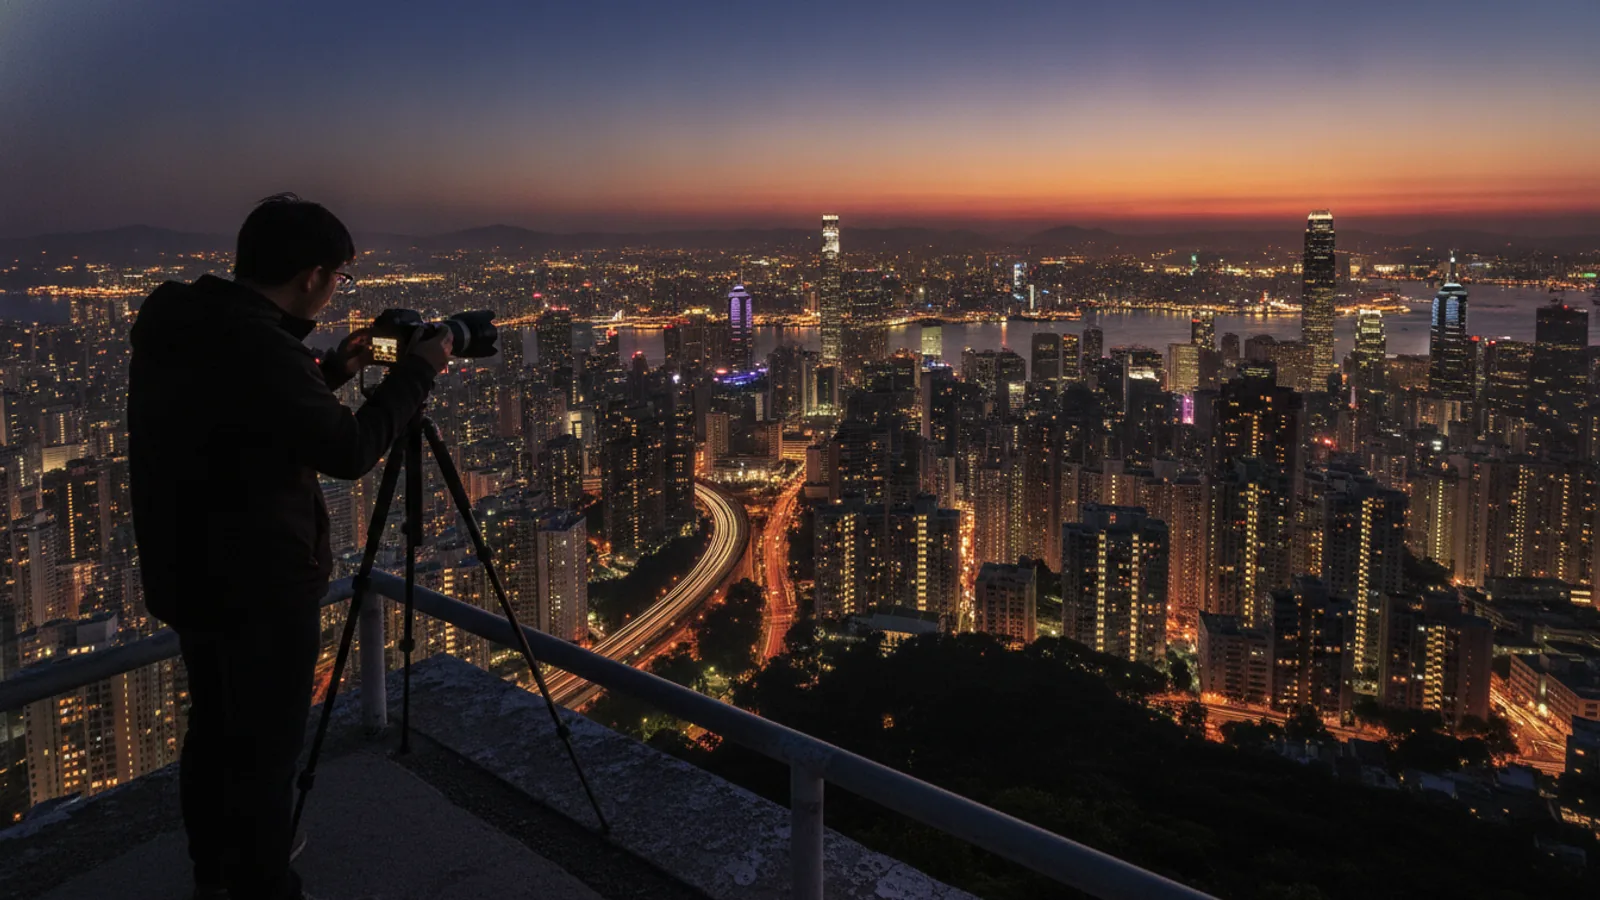
While often grouped with "night photography," the "blue hour" is a distinct period that offers unique advantages. This is the time just after sunset (or before sunrise) when the sky turns a deep, rich blue. City lights have started to come on, but there's still a hint of ambient light in the sky, preventing it from being a flat black. This contrast between the warm artificial lights and the cool blue sky creates a magical atmosphere that is often more visually appealing than shooting in complete darkness.
Experiment with Light Trails
One of the most dynamic elements of city night photography is capturing the streaks of light from moving vehicles. To do this, you'll need a longer shutter speed than usual, often between 15 to 30 seconds or more. Position your camera to capture traffic moving towards, away from, or across your frame. The longer the exposure, the longer and smoother the light trails will be. Play with different shutter speeds to achieve varying effects, from subtle blurs to vibrant ribbons of light.
Look for Reflections
Reflections can add incredible symmetry and visual interest to your city night photos. After it rains, puddles and wet streets become natural mirrors, reflecting the vibrant city lights and buildings. Look for these opportunities on the ground. Additionally, glass buildings and windows can create stunning reflections. Position your camera to include these reflections, adding another layer of complexity and beauty to your composition.
Include Interesting Foreground Elements
While the distant cityscape is captivating, including a strong foreground element can significantly improve your photo's depth and storytelling. This could be a unique lamppost, a bench, a statue, a person walking (creating a blur of movement), or even textured pavement. A strong foreground helps to draw the viewer's eye into the scene and gives the image a sense of place and scale.
Utilize People for Scale or Mood
Sometimes, including people in your city night shots can add a sense of scale, emotion, or narrative. If they are moving, they might appear as ghostly blurs during long exposures, which can be an artistic effect. If they are still, they can provide a focal point or a sense of human connection to the urban environment. Be mindful of privacy and local laws when photographing individuals.
Post-Processing is Key
No matter how well you expose your image in-camera, night photography almost always benefits from careful post-processing. Shooting in RAW format is essential as it captures much more data, giving you greater flexibility. In editing software, you can:
- Adjust exposure and contrast to bring out details in shadows and highlights.
- Refine white balance to achieve accurate or desired color temperatures.
- Reduce noise that might still be present, even with low ISO settings.
- Enhance sharpness and clarity.
- Correct lens distortions and chromatic aberration.
- Combine multiple exposures (HDR) if you've bracketed your shots, to manage extreme light differences.
How To Photograph A City At Night FAQ
What is the best time to photograph a city at night?
The absolute best time is usually during "blue hour," which is the twilight period roughly 20-30 minutes after sunset (or before sunrise). During blue hour, the sky turns a beautiful deep blue, which contrasts wonderfully with the warm artificial lights of the city that have just begun to illuminate. This provides a more vibrant and dynamic backdrop than a completely black sky.
Can I photograph a city at night without a tripod?
It's possible, but much more challenging, and the results will likely be less sharp. To capture enough light for a well-exposed night shot, you need long shutter speeds (often 5-30 seconds). Without a tripod, any movement will cause blur. You might be able to achieve some shots by bracing your camera against a stable surface like a wall or railing, but a sturdy tripod is highly recommended for sharp, professional-looking city nightscapes.
What lens should I use for city night photography?
A wide-angle lens (typically 14mm to 35mm on a full-frame camera) is often ideal for cityscapes because it allows you to capture a broad view of the urban scene, including multiple buildings, streets, and the sky. Lenses with a relatively fast maximum aperture (like f/2.8 or f/4) can be helpful, though you'll often be shooting at a narrower aperture like f/8-f/11 for depth of field. A standard zoom lens (e.g., 24-70mm) can also work well, especially at its wider end.
How do I avoid shaky or blurry photos?
To avoid shaky or blurry photos, especially with long exposures, follow these key steps: 1. Always use a sturdy tripod. 2. Use a remote shutter release or your camera's 2-second self-timer to trigger the shutter without touching the camera. 3. For DSLRs, enable mirror lock-up to minimize internal vibrations. 4. Ensure your tripod is on stable ground and all legs are locked securely.
What is "noise" in night photos, and how do I prevent it?
"Noise" refers to the unwanted speckles or graininess that appear in photos, especially noticeable in dark areas. It's caused by increasing your camera's ISO sensitivity. To prevent noise, keep your ISO as low as possible (ideally ISO 100 or 200). Instead of increasing ISO to brighten your image, rely on longer shutter speeds (with a tripod) to gather more light. Shooting in RAW format also helps, as it allows for more effective noise reduction during post-processing.
Should I use autofocus or manual focus?
For city night photography, it's almost always better to use manual focus. Autofocus systems struggle in low light and may "hunt" for focus or lock onto the wrong elements. To manually focus, switch your lens and camera to manual focus mode, then use your camera's live view to zoom in on a bright, well-defined distant light source or building. Adjust the focus ring until that point is perfectly sharp.
Final Checklist for How To Photograph A City At Night
Before you head out or pack up, run through this quick checklist to ensure you're prepared and haven't forgotten any crucial steps or gear.
- Camera Battery: Is it fully charged? Do you have spares?
- Memory Card: Is it in the camera? Is there enough free space?
- Tripod: Is it packed and ready for use?
- Remote Shutter Release: Do you have it, or are you ready to use the 2-second timer?
- Appropriate Lens: Is your wide-angle or desired lens with you?
- Headlamp/Flashlight: Essential for visibility and setup in the dark.
- Manual Mode (M): Is your camera set to M mode?
- Aperture (f/8-f/11): Is it set for depth of field and starbursts?
- Low ISO (100-400): Is it set to minimize noise?
- Manual Focus: Is your lens set to MF, and are you ready to focus precisely?
- Location Scouted: Did you check for good compositions and safety during daylight?
- Weather Checked: Is the forecast clear and suitable for shooting?
- Personal Safety Plan: Have you considered your safety, especially if shooting alone?
- Shoot RAW: Is your camera set to capture RAW files for maximum editing flexibility?
- Image Stabilization Off: If using a tripod, is your lens's stabilization turned off?