How To Sequence Photographs For A Book
A practical step-by-step guide to how to sequence photographs for a book, including preparation, instructions, common issues, tips, and next steps.

How To Sequence Photographs For A Book
This guide explains how to approach how to sequence photographs for a book, including the preparation, practical steps, common mistakes, and final checks that help you finish with confidence.
Before You Start how to sequence photographs for a book
Before diving into the creative process of sequencing your photos, it's essential to have a solid foundation. This preparation will streamline your efforts and help prevent common pitfalls, ensuring a smoother journey to your finished book.
Having these elements in place will allow you to focus purely on the narrative and aesthetic flow of your photographs, rather than getting sidetracked by technical tasks or uncertainty about your book's direction.
Step-by-Step Instructions
Quick Reference
Use this table to quickly address common sequencing challenges:
Common Problems When You Sequence Photographs For A Book
Sequencing photos for a book can be a tricky process, and it's common to run into specific challenges. Knowing these issues beforehand can help you avoid them or quickly find solutions.
Lack of a Clear Narrative Arc
Problem: Your book feels like a random collection of nice photos rather than a cohesive story. Readers might find it hard to understand what you're trying to say or where the book is going.
Fix: Go back to step 1 and firmly define your book's core story or theme. If you can't summarize it in a sentence or two, your direction might be unclear. Re-evaluate each photo: does it actively contribute to that specific narrative? Remove anything that doesn't.
Repetitive Images
Problem: You have several photos that are very similar, showing the same subject or scene from only slightly different angles. This can bore the viewer and make the book feel bloated.
Fix: Be brutal in your curation. Choose only the *strongest* single image from any set of similar photos. If two are equally strong but slightly different, consider if their placement creates a deliberate progression or if one can be cut. Each photo should offer new information or a distinct perspective.
Poor Pacing or Flow
Problem: The transitions between photos feel jarring, or the book has an uneven rhythm. It might feel too fast in some parts, then drag in others, losing the reader's attention.
Fix: Consciously vary your visual elements. Pair a detail shot with a wide shot, a dark image with a light one, or a dynamic scene with a contemplative one. Think about how the eye moves from one image to the next. Consider an empty page or a text page as a visual "breath" if needed.
Over-reliance on "Best" Individual Shots
Problem: You're trying to include all your technically perfect or personally favorite photos, even if they don't fit the book's narrative.
Fix: Remember that a photo book is about the *sequence*, not just individual images. A technically flawed photo that tells a powerful story or makes a crucial connection might be more valuable than a "perfect" one that doesn't contribute to the overall flow. Judge photos by their contribution to the narrative, not just their standalone beauty.
Ignoring Reader's Perspective
Problem: Because you know the story intimately, you assume the viewer will too. This can lead to jumps in logic or meaning that are clear to you but confusing to an outsider.
Fix: Get fresh eyes on your sequence. Ask someone unfamiliar with your project to review it and explain what they see and feel. Their honest feedback is invaluable for identifying areas where your visual story isn't landing as intended. Be open to their perspective and use it to refine your work.
Advanced Tips for how to sequence photographs for a book
Once you've mastered the basics of sequencing, these advanced tips can help elevate your photo book from good to truly exceptional, adding layers of meaning and engagement for your readers.
Utilize Visual Metaphors and Symbolism
Beyond literal connections, look for opportunities to connect images through abstract ideas or symbolic meanings. For example, a photo of a winding road might be followed by an image of someone contemplating a decision, subtly linking the concept of a journey with life choices. This adds a deeper, more thought-provoking layer to your narrative.
Play with Juxtaposition and Contrast
Deliberately place contrasting images next to each other to create tension, highlight differences, or reveal unexpected similarities. This could be contrast in subject matter (e.g., urban decay next to pristine nature), color (vibrant next to muted), or emotion (joy next to sorrow). Such juxtapositions can be very powerful in prompting reflection and adding complexity to your story.
Incorporate Repetition with Variation
While outright repetition is generally to be avoided, a strategic return to a visual theme or motif, but with a slight variation, can be highly effective. This creates a sense of rhythm, reinforces key ideas, and allows the viewer to see how something has changed or evolved over time. Think of it like a musical refrain that reappears throughout a piece.
Consider the Role of Text (Even Minimal Text)
Even if your book is primarily visual, a few carefully chosen words can profoundly impact the sequence. This could be a title for a chapter, a short quote, or minimal captions that add context without over-explaining. Text can anchor a series of images, bridge visual gaps, or provide emotional cues, enhancing the viewer's understanding of your sequence.
Think in "Spreads" Not Just Single Pages
For a physical book, the relationship between two facing pages (a "spread") is paramount. Treat each spread as a single canvas. How do the images on the left and right interact? Do they create a balanced composition? Does one image lead the eye to the next across the gutter? Designing in spreads allows for more dynamic layouts and strengthens the overall visual impact of your book.
Create "Breaks" and Moments of Quiet
Not every page needs to be visually dense or action-packed. Strategic "breaks"—such as a single, quiet image on a white page, an intentionally blank page, or a page of pure text—can provide moments of contemplation for the reader. These pauses allow the viewer to absorb what they've seen, anticipate what's coming, and reset before the next series of images.
Experiment with Different Sequences of the Same Images
Once you have a strong selection of images, try creating two or three completely different sequences with the same photos. This exercise can reveal unexpected narratives or stronger flows that you might not have considered initially. It encourages flexibility and helps you break free from your first ideas, leading to a more refined final product.
How To Sequence Photographs For A Book FAQ
Here are answers to some common questions about sequencing photographs for a book:
Q: How many photos should I include in my book?
A: There's no fixed number, but quality trumps quantity. A typical photo book might contain anywhere from 20 to 150 photos, depending on its purpose and page count. Aim for enough images to tell your story completely, but remove any that don't add significant value. A shorter, stronger book is almost always better than a long, bloated one.
Q: Should I put photos in chronological order?
A: Not necessarily. While chronological order is natural for documenting events or journeys, it's not always the most engaging. Consider sequencing by theme, visual parallels, color, emotion, or a narrative arc that isn't strictly time-based. The best sequence is one that tells your story most effectively, regardless of chronology.
Q: What if I have photos that don't quite fit the main theme but I really like them?
A: If a photo doesn't serve the core story or theme, it's usually best to exclude it from the main sequence. You might consider creating a separate, smaller section at the end for "bonus" images or dedicating a different book project to those photos. Including unrelated images can weaken your book's overall message.
Q: How important is the first and last image?
A: Extremely important! The first image sets the tone and invites the reader into your world. The last image provides closure, a lasting impression, or a moment of reflection. Both should be powerful, memorable, and encapsulate an essential part of your book's message or feeling. They are like the opening and closing statements of an argument.
Q: Can I use different sized photos on the same page or spread?
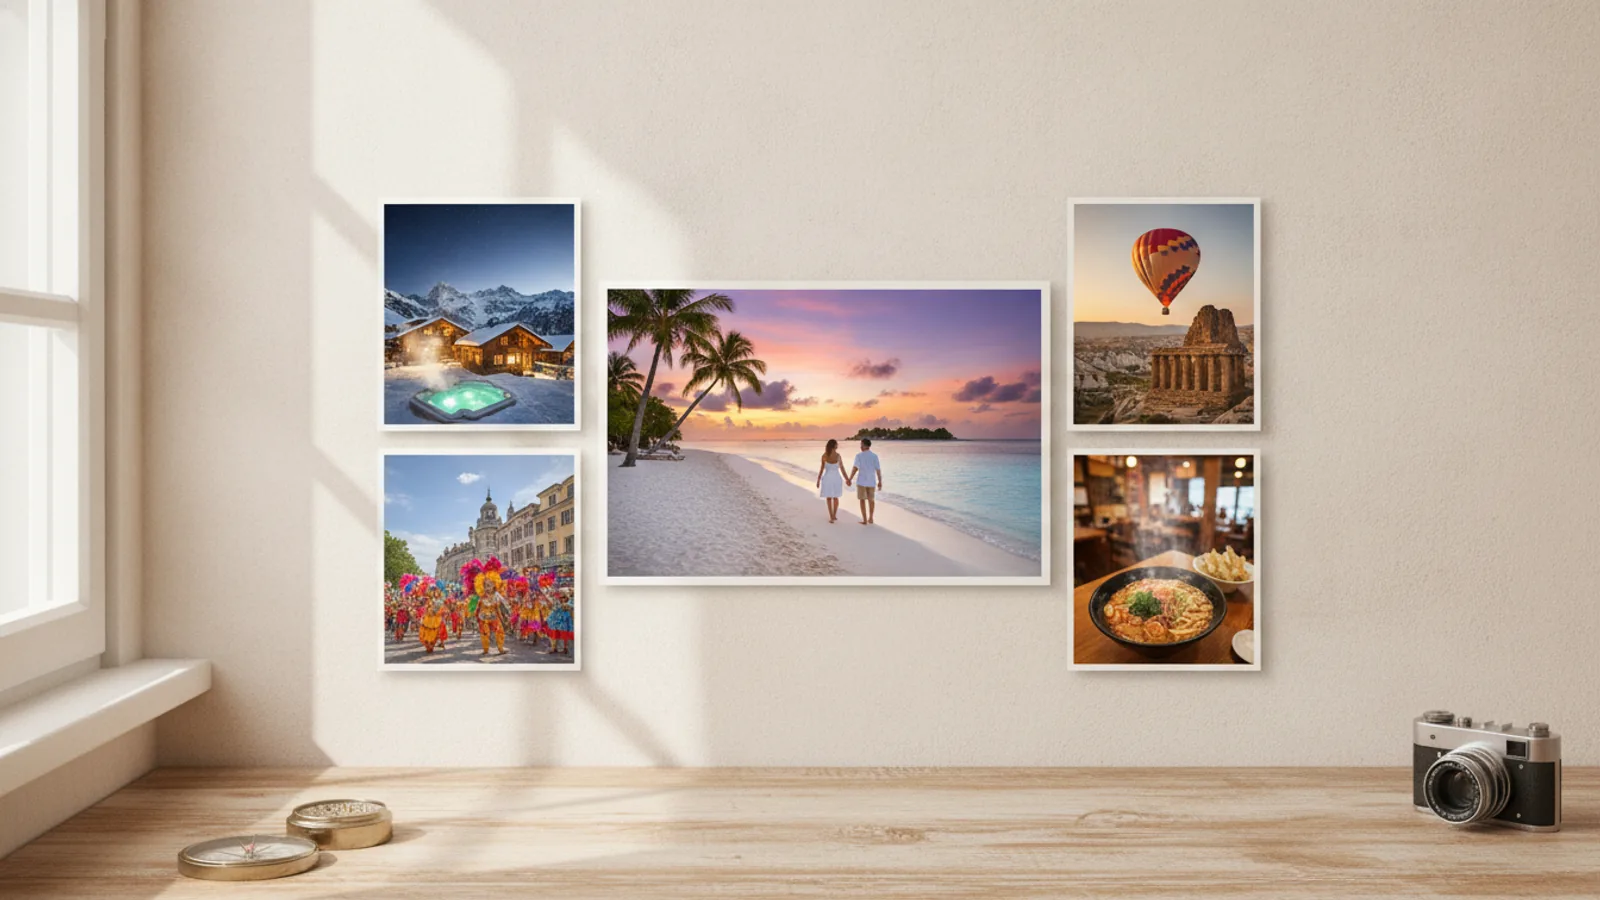
A: Yes, absolutely! Varying photo sizes and layouts on a page or spread can add visual interest and dynamic pacing. You might have one large, dominant image paired with a couple of smaller, complementary detail shots. Experiment with different arrangements to see what strengthens your visual narrative. However, avoid making layouts too cluttered or inconsistent.
Q: How do I know when my sequence is "finished"?
A: Your sequence is finished when you feel it tells your story in the most compelling and coherent way possible, and further changes don't significantly improve it. After seeking feedback and taking a break, if you return to it and still feel satisfied with the flow, narrative, and individual image choices, it's likely complete. Trust your artistic vision and gut feeling after thorough review.
Final Checklist for how to sequence photographs for a book
Before you finalize your photo book sequence, run through this checklist to ensure you've covered all the essential elements.
Once you've checked off these points, you can be confident that you've created a well-sequenced and impactful photo book.